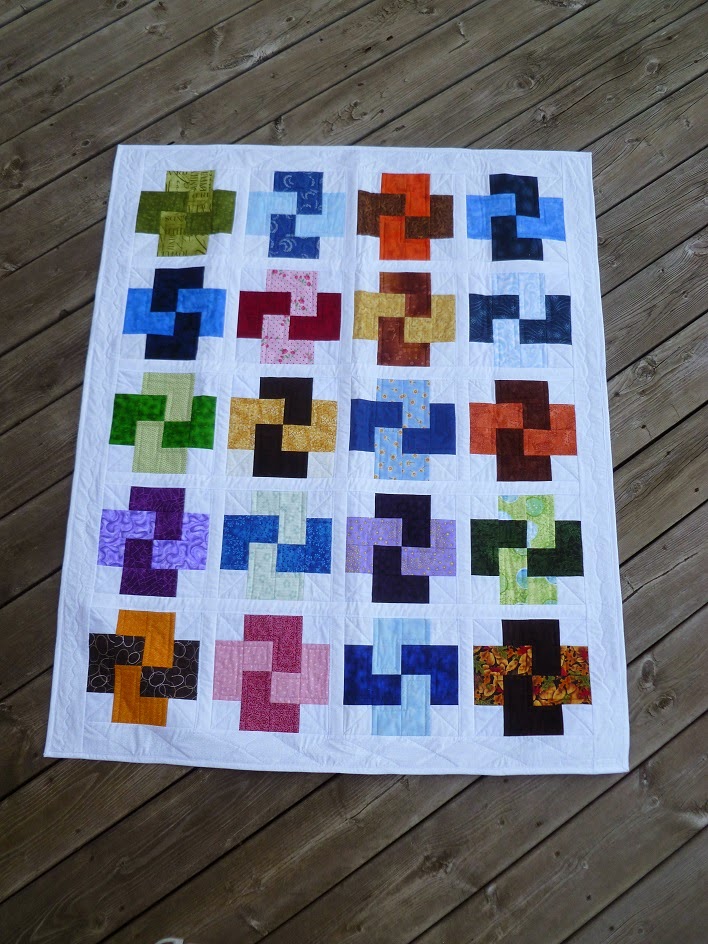
This is a technique that Jackie Black from our Guild developed to make it easier to put a large quilt together. The squares are quilted first and then hinged together by the sashing strips. I took the course last May from Jackie and a few of the gals missed the class so I said that I would teach it through the guild if there is enough interest. I have made three quilts using this technique and I really like it since I find it hard to maneuver a large quilt while quilting it.
I am in the middle of putting a baby quilt together for my oldest sister Carole and am waiting for more fabric to arrive in the mail so I have been working on my demo so that I can explain the technique and show how it is done.
I quilted this block and then sewed the hinge on the front
and lined it up with the hinge on the back. You can see the blue
backing peeking out at the top of the block.
I always make my hinges larger than my block
and then trim them down after they are
attached.
This is a 3 inch sashing strip folded in half so the cut edge is hidden.
You can see that I left a 1/4 inch rim of batting and backing
around my square.
I wanted my quilt to grow and this will add a 1/2 inch to each row.
This block has its mate zigzagged to it and ready to
have the hinge sewn down on the adjoining block.
Click on the picture to see it clearly.
Here I have 3 blocks hinged together.
I zigzagged the hinge onto the adjoining block.
You could use a fancy joining stitch but I just used a zigzag stitch.
Now I am joining 2 rows together.
I matched my hinges so that the sashing will be in a
straight line, then I zigzagged the 2 rows together.
This is the back of the quilt. If you click on the picture
to enlarge it you can see the hinges on the back of the quilt,
and the long hinge to join the rows together.
Since the rows can be long and it is sometimes difficult to sew
on the top hinge and catch the back hinge in the stitching
I usually put some "Heat and Bond" (that is the white strip you see here) on the back
hinge and press it down so that it stays in place
and will be caught in the upper stitching.
This quilt may never be finished as a quilt but it makes a great demo to explain the technique.
Peggy.


