
I chose a multi coloured gold border.

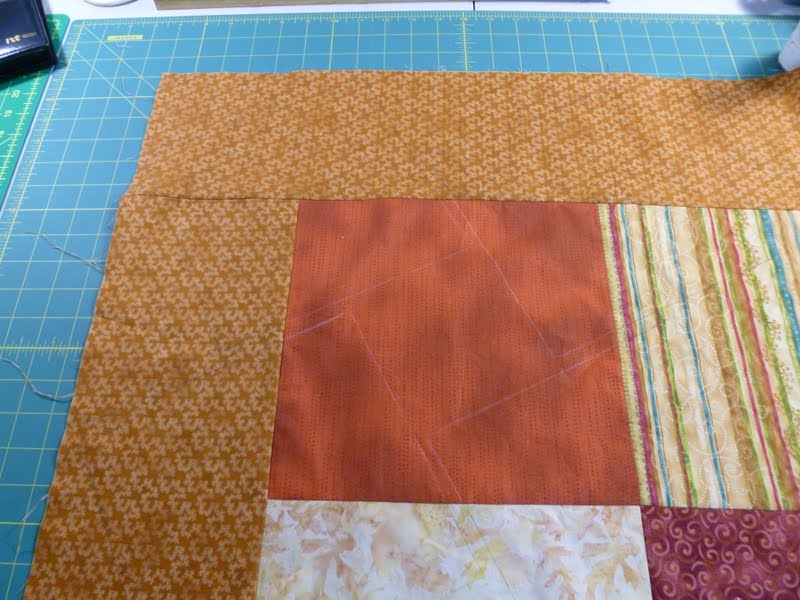
I used the 8" twister ruler, a lead pencil,
and a Fons and Porter Ceramic pencil
to make the markings.

You can see the markings on the squares
The next steps are very crucial for it to work out correctly.
1. The whole quilt has to be marked before you start to cut.
2. You cut out one row at a time and sew it together.
3. Then you sew each row together when they are finished. Otherwise it will be almost impossible to put it together.
I have 4 rows completed.

Isn't this amazing.
This is what it looked like before I cut it apart.

I will add more borders when it is finished.
Peggy
3 comments:
Yes! It IS amazing!
It is amazing! I couldn't imagine how you could turn the preliminary quilt top of big squares into those twisters. Very complicated. Do you end up with lots of little left over squares? Of course, if you do, you could use the little squares for another project.
I save all my scraps and use them for applique or scrap quilts.
Post a Comment